Hardwood Floor Cupping: Read the Pattern Before You Sand
Published on
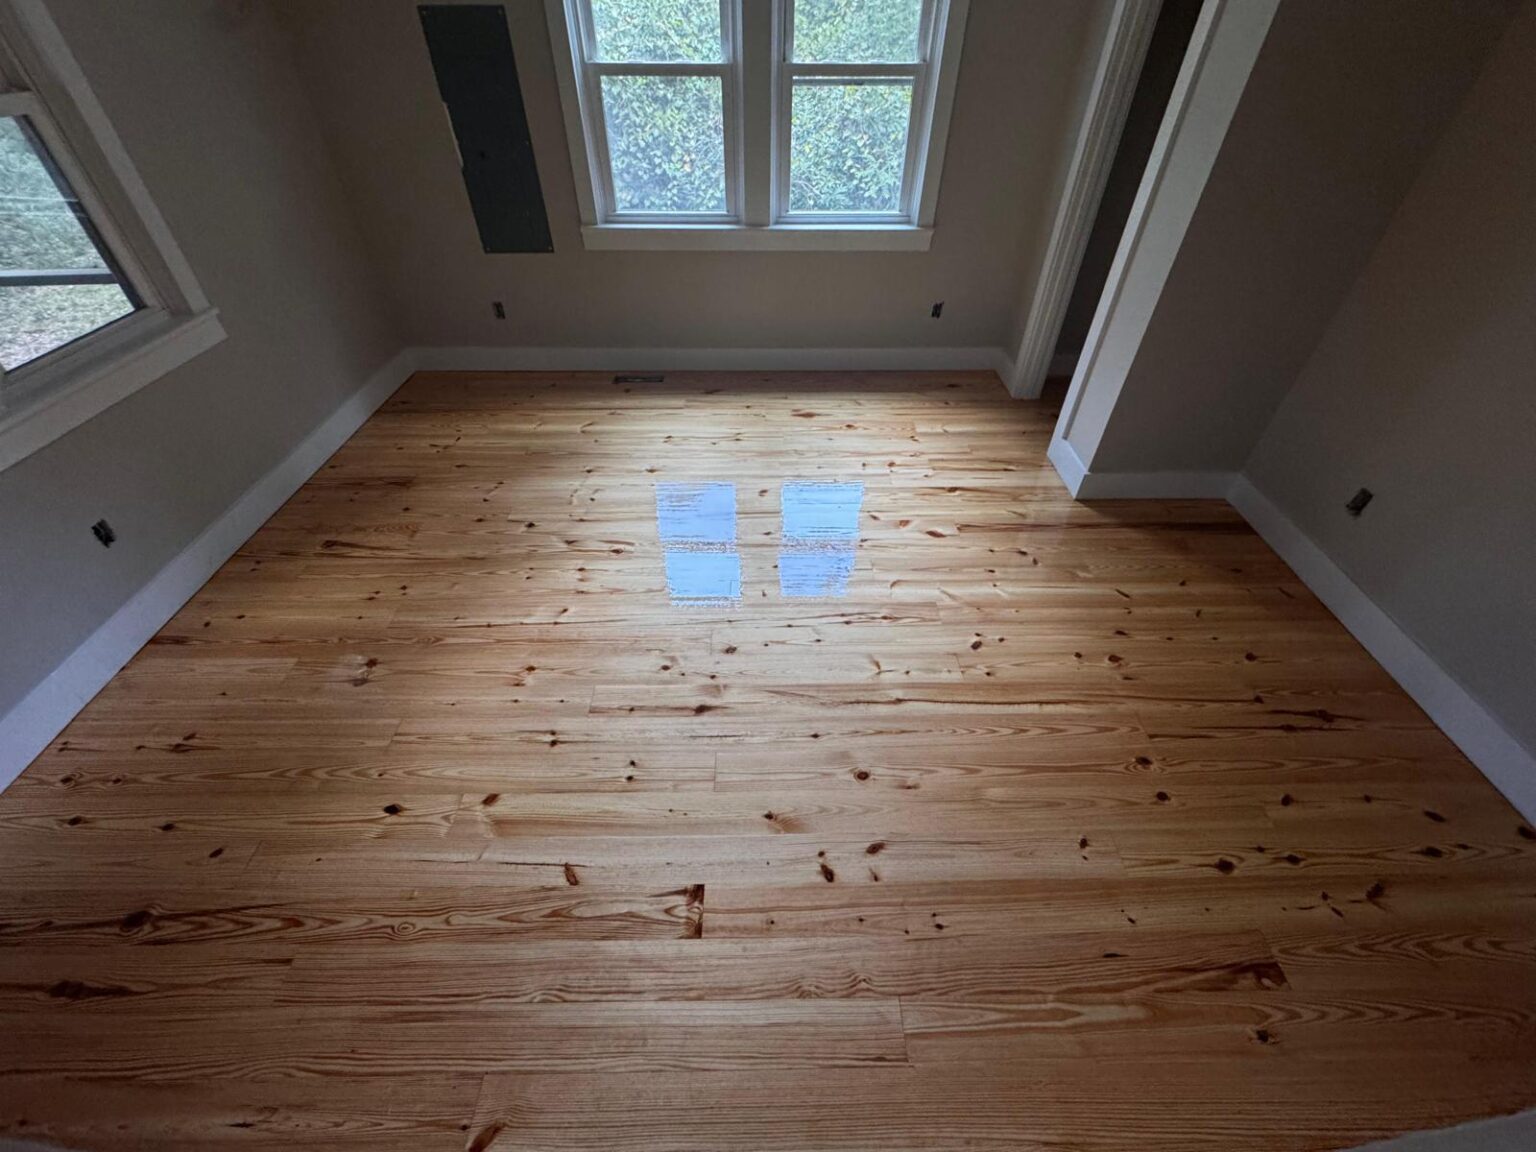
Hardwood floor cupping is when the edges of each board sit higher than its center, so the floor looks rippled across the width of the planks. It is a moisture problem, not a defect in the wood: the underside of the boards has taken on more water than the top.
The fix follows from that. Find where the water comes from, let the floor dry out, and only then decide whether it needs sanding.
That order matters most in a Charleston summer, when the air outside is heavy and the house depends on its air conditioning to stay dry. The pattern of the cupping, meaning where in the house it shows up, is usually the fastest clue to the source.
What cupping looks like, and what it isn’t
Cupping runs across each board: raised edges, a lower middle. You often notice it first when low sun from a window throws thin shadows along every seam. The National Wood Flooring Association (NWFA) describes it the same way and ties it to floors that gain moisture and swell.
Two other problems get confused with it:
- Crowning is the reverse: the center of the board is higher than the edges. It often shows up after a cupped floor was sanded flat before it had dried.
- Buckling is when boards lift off the subfloor altogether. That is a bigger water event and needs a professional look right away.
Where the cupping is tells you where the water is
Moisture moves into wood from the side closest to it. When the bottom of the board is wetter, it swells more than the top and the edges curl up.
Wagner Meters, which makes wood moisture meters, lists the usual sources: humid air, moisture from the slab or crawl space below, leaks, and installation before the wood and subfloor had settled. The table turns that list around, so you can start from what you see.
| Where you see it | Most likely source | What to check first | Who fixes the source |
|---|---|---|---|
| A patch near the dishwasher, sink, fridge water line or a toilet | A slow leak | Supply lines, the appliance drain, the toilet seal; feel for damp under the edge of the patch | Plumber or appliance repair, then the floor |
| A whole room, or the whole floor, worse in summer | Indoor humidity above what wood tolerates | A hygrometer reading; whether the AC was off or the house sat closed up | HVAC or a dehumidifier |
| Ground-floor rooms of a raised house, across most of the floor | Moisture rising from the crawl space | Standing water, a missing or torn ground cover, wet insulation or dripping ductwork under the house | A crawl space or drainage contractor |
| Along an exterior door, under a window or a wall that takes rain | Water getting in from outside | Thresholds, window sills, gutters, sprinkler heads aimed at the house | Exterior repair first |
| A floor laid over a concrete slab | Moisture coming up through the concrete | Whether a moisture barrier went down under the wood | The flooring installer |
| A new floor that cupped within weeks | Wood installed before it matched the house, or a damp subfloor | Moisture readings of the boards against the subfloor | The flooring installer |
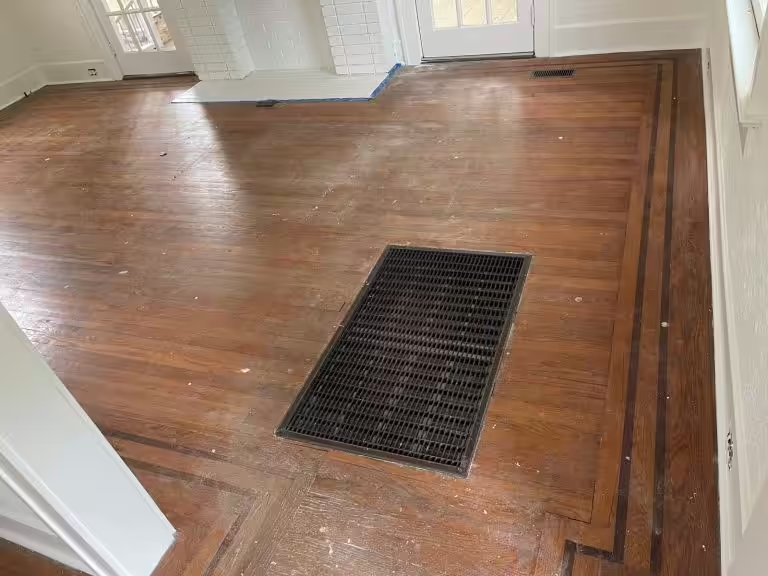
If your house has floor registers like the one below, the ductwork feeding them runs under the floor, and a damp space down there reaches the boards from below. How to dry out and seal a crawl space is its own project; for the floor, what matters is that the source is fixed before anything else happens.
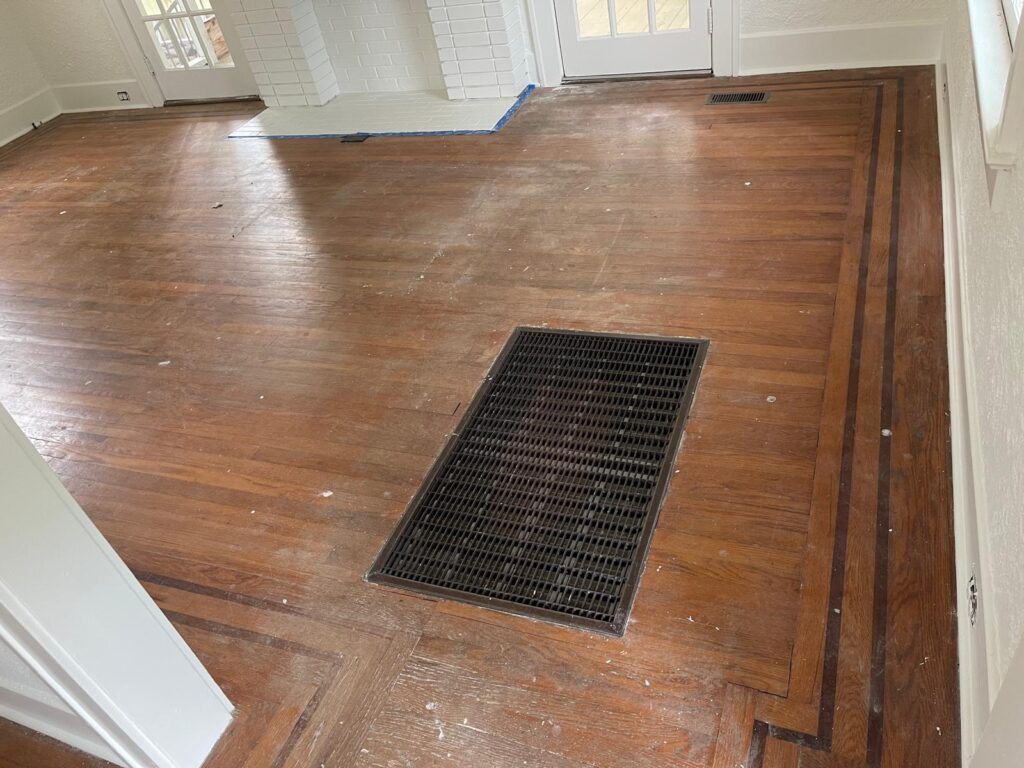
This floor, with its original border and cast-iron register, was refinished during a whole-home renovation of ours. Floors like it are worth saving, which is one more reason not to rush a cupped one.
Will a cupped floor flatten out on its own?
Often, yes, once the source is fixed and the boards dry back to match the rest of the room. Mild cupping from a humid stretch can settle by itself when the season changes. Cupping from a leak usually flattens too, though more slowly. Work through it in this order:
- Is the source still active? If water is still reaching the floor, nothing else helps yet. Fix the leak, the drainage or the humidity first.
- Is the floor drying? Fans and a dehumidifier speed it up.
- How do you know it has dried? Wagner Meters’ rule is to go by readings, not the calendar: take moisture readings in the cupped area and in a part of the floor that never cupped, every few days. When they match and stay steady, the wood has dried as much as it will.
- Still cupped after the readings level off? That is the point to talk about sanding and refinishing, or about replacing the boards that are too far gone.
- Boards split or badly damaged by water, or a subfloor that feels soft underfoot? Split and water-damaged boards are the ones a repair cuts out and replaces, and a soft subfloor has to be opened and checked first.
Why sanding too early turns cupping into crowning
A sander takes off whatever stands highest, which on a cupped floor is the raised edges.
If the wood is still wet, the boards keep drying after the sanding and flatten out, and now the edges sit lower than the centers. That is a crowned floor, and it takes another sanding to fix. Wagner Meters puts it plainly: never sand a floor while it is still cupped.
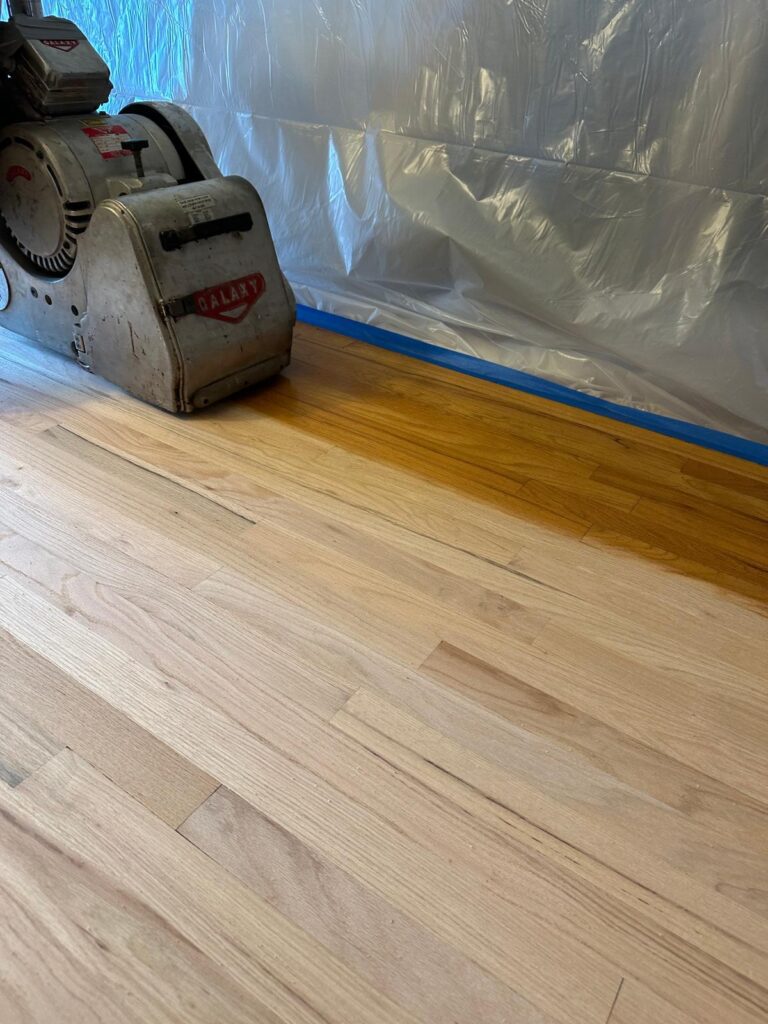
The cost of sanding early is higher in an old house. Old heart pine floors in Charleston have often been sanded again and again over the decades, which leaves less wood above the tongue than on a new floor. Every unnecessary pass spends some of what remains. Waiting for steady readings costs time; sanding twice can cost the floor.
The humidity range wood floors are built for
The NWFA’s guidance for homeowners is to keep the house between 60 and 80 degrees Fahrenheit and 30 to 50 percent relative humidity, year-round. Its note is that floors that lose moisture gap, floors that gain it cup, and small seasonal gaps that open and close are normal.
In practice, around here, that means:
- Keep the air conditioning running through the humid months, including when you travel. With the AC off, nothing is pulling moisture out of the indoor air.
- Put a hygrometer in the rooms with wood floors. It tells you whether the house is inside the range before the floor does.
- Clean with products made for wood floors. Wet-mopping and steam cleaners put water where the floor doesn’t want it.
- Dry spills right away and look around the dishwasher, sinks and tubs now and then.
For a new floor, the check happens before the first board goes down: the wood and the subfloor need to have reached similar moisture levels. That is why we start every installation by checking the subfloor for flatness and moisture.
Engineered flooring, which the NWFA notes expands and contracts less than solid wood, is one way to reduce the risk over a slab, but no wood floor ignores a wet space underneath.
What a repair visit should look at, and what moves the price
A useful visit answers three questions: where the moisture is coming from, whether the floor is still drying, and which boards can stay. Expect moisture readings across the floor, a look at the likely sources from the table above, and a straight answer on whether to wait or repair now.
When boards do need replacing, our hardwood floor repair in Charleston work cuts out the water-damaged or cupped boards and weaves new ones into the surrounding floor. In an old floor, a repair rarely disappears completely unless the whole floor is refinished afterwards, and we say so before the work starts.
The price depends on how many boards are affected, the species and how closely it has to be matched, whether the subfloor underneath took damage, and whether the room, or the whole floor, needs sanding and refinishing to blend the repair. We don’t quote a figure before seeing the floor. The visit and the written estimate are free.
If the moisture source is fixed and the floor is still cupped, schedule a hardwood floor repair visit, or send us the details and we’ll tell you whether it’s time to repair or time to wait.
Keep reading