Can You Tile Over Existing Tile? Check These Six Things First
Published on
The most common mistake with tile over tile is judging the old floor by its surface. Chipped glaze and dated colors don’t matter; what matters is whether the old tile is still holding on, and what is underneath it.
So, can you tile over existing tile? On a floor, often yes: when every old tile is well bonded, the floor is stiff and flat, and the room can take the added height. In a shower, it is usually the wrong call.
The Tile Council of North America (TCNA) says tiling over ceramic tile is done regularly where there is no height limit and the existing tile is well bonded, following the prep its Handbook lays out.
The short answer, surface by surface
| Surface | Tile over it? | What decides it |
|---|---|---|
| Floor in a dry room: hall, living area, laundry | Often possible | Bond, stiffness, flatness and door clearance |
| Kitchen floor | Possible, with planning | Dishwasher and range heights, the transition to the next room |
| Bathroom floor | Possible, with planning | The toilet flange, the door, the threshold |
| Backsplash or a dry wall | Often possible | Wall thickness at outlets, window trim and edges |
| Shower walls and shower floor | We’d rather not | You can’t see or fix the waterproofing behind it |
| Tub surround | Same concern as a shower | It gets wet every day |
Our own tile page puts the position in two sentences, and we stand by it:
“Sometimes on a floor, if the existing tile is sound, well bonded and flat, and the added height works at the doorways. In a shower we’d rather not — you’re covering up whatever is failing behind it.”
The six checks below are how we get from “sometimes” to a yes or a no for a specific room.
1. Every old tile is still bonded
New tile is only as good as the tile it’s stuck to. Walk the floor tapping each tile with a coin or the handle of a screwdriver. A dull, hollow sound means that tile has let go of what is under it. Cracked tiles and grout that has crumbled out of the joints are the same warning.
A few loose tiles can be removed and the gaps filled before the new layer goes down. A floor with hollow spots everywhere is telling you the bond failed across the board, and covering it buries the problem. The TCNA notes that loose or hollow tile is more likely to fail over a wood subfloor than over concrete.
2. The floor under it doesn’t flex
Tile and grout don’t bend. If the floor moves under foot traffic, the joints crack and the tiles eventually let go, and that is true for the second layer as much as the first.
The TCNA’s long-standing benchmark is L/360: the floor should not deflect more than its span divided by 360, so a 10-foot span should not sag more than about a third of an inch.
This check matters most in a raised, wood-framed house. A ground floor built over a crawl space can feel solid and still bounce enough to crack tile. Cracked grout lines that run in a pattern across the old floor are a clue that the floor is moving, and a new layer will inherit that movement.
3. The surface is flat enough for the new tile
Whatever unevenness the old floor has, the new tile follows it. Large-format tiles show it most, with one edge sitting proud of the next. The old grout joints are another issue: they are low spots that the new mortar has to bridge or that need filling first.
Flattening an old floor is part of the prep, not an afterthought. Our tile estimates list substrate prep as its own line for exactly this reason: it’s the part of the job nobody sees, and the part that decides how long the finished work lasts.
4. The room can take the extra height
A second layer raises the floor by the thickness of the new tile plus its mortar bed. That sounds small until it meets everything fixed in the room:
- Doors that now drag and need trimming, and thresholds that become a step.
- A dishwasher that can get trapped under the counter if the floor in front of it rises.
- The toilet, which has to come out and have its flange brought up to the new floor level.
- The transition to the next room, especially if that floor is wood.
The same thinking applies to any floor going over an old one, which is why the question of laying new flooring over what’s already there always starts with how much height the doorways and appliances can afford.
5. The mortar is made to bond to glazed tile
Glazed tile is slick and non-porous. The TCNA warns that not every thinset, including polymer-modified ones, will bond to it directly, and points installers to the mortar manufacturer’s recommendation for this use. Depending on the old tile, its face may need to be mechanically abraded, and a bond test settles whether the mortar will hold.
Abrading old glaze has a caution of its own. The TCNA advises analyzing the tile and glaze before grinding, because the dust can be harmful to breathe, and wearing proper protection while doing it. In an older house, that is one more reason this isn’t a quick weekend scuff-and-stick.
6. It isn’t a shower
In a shower, the tile is the visible part. The waterproofing behind it is what keeps the wall and the framing dry; the TCNA’s shower methods are built around a waterproof membrane under the tile.
Tiling over an old shower means trusting a membrane, or the lack of one, that you can’t inspect, and sealing in any leak that has already started.
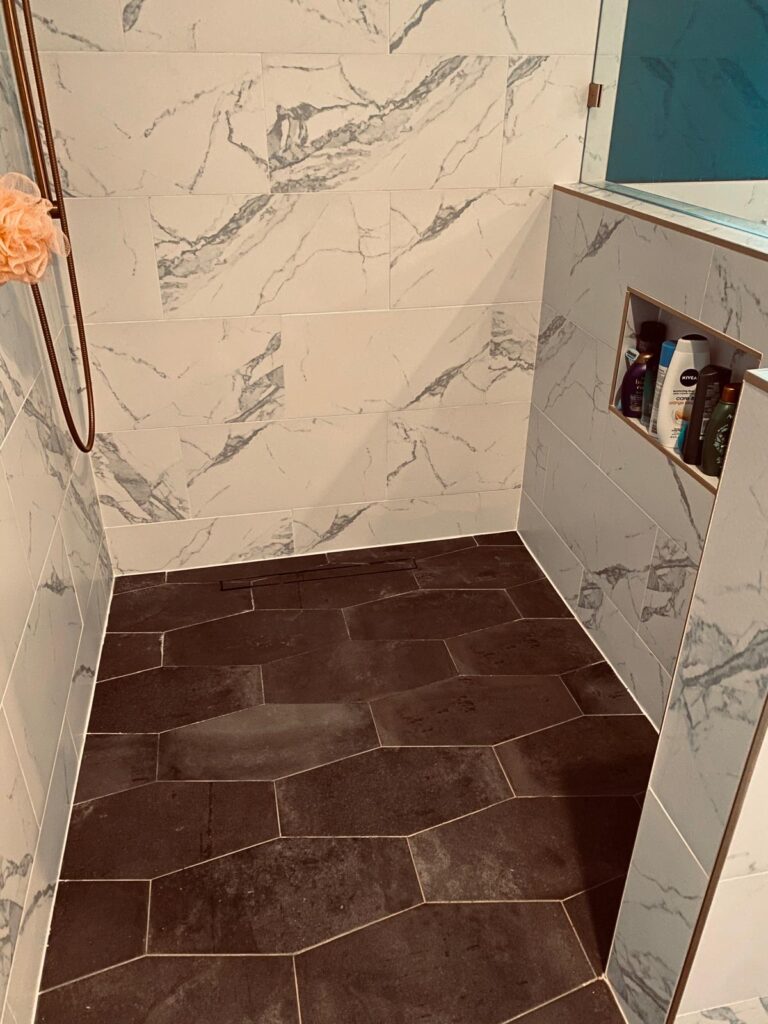
That’s why, in a shower, we’d rather open it up, see what’s there, and rebuild it over a waterproofed assembly. If the shower is part of a bathroom remodel, the floor, the walls and the shower get planned together.
As our tile page says:
“Most tile that fails didn’t fail at the tile. It failed at the substrate, the waterproofing or the layout.”
How the new layer goes down when the checks pass
When all six checks come back yes, the work runs in this order:
- Remove and patch any loose tiles, and fill cracked or crumbling grout joints.
- Clean the old surface of soap film, wax and grease, which act as bond breakers.
- Abrade the glaze where the mortar maker calls for it, with dust protection, and run a bond test.
- Lay the tile out dry first, so the cuts land at the edges of the room.
- Set the tile in a mortar rated for bonding to existing tile, with full contact under each piece. The TCNA lists thin, patchy mortar coverage among the causes of tile that comes loose.
- Leave the movement joints the installation calls for; the TCNA names missing movement joints as another cause of tile losing its bond.
- Grout once the mortar has cured, then wait the times the products call for before heavy use.
Our own tile installs follow the same rhythm: substrate, then the layout dry-fitted before anything is stuck down, setting, and grout once the mortar has cured.
When the old floor isn’t ceramic at all
Sometimes what looks like old tile is resilient flooring: vinyl tiles or sheet vinyl, often over a black adhesive. The TCNA’s guidance for tiling over these is different from ceramic, and it is explicit that removing asbestos-based resilient tile requires very different handling.
Some older resilient flooring contains asbestos, and the EPA’s advice cuts against the instinct to rip it out: don’t sand or try to level asbestos flooring or its backing, have suspect material sampled by an accredited inspector before remodeling disturbs it, and, when it needs replacing, cover it with new flooring if possible.
Removal is a job for trained asbestos professionals.
In the City of Charleston, the permitting guidance for demolition adds that removing asbestos-containing materials may require notifying the South Carolina Department of Environmental Services.
If a check fails: the other ways to get a new floor
A “no” on one of the six checks doesn’t end the project; it changes the route.
- Take the old tile out. It’s the answer for widespread hollow spots, a floor that flexes, a room with no height to spare, and any shower. Removal also shows what the subfloor looks like, so it can be repaired before the new tile goes down.
- Build a new base where the floor needs one. On a wood-framed floor, the new tile then goes over a tile underlayment such as cement backer board, chosen to suit the installation method; the TCNA measures the L/360 stiffness of the floor before that underlayment goes in.
- Put a different floor over it. The North American Laminate Flooring Association lists ceramic tile as a suitable base for laminate, installed over flat, smooth tile after checking for cracked or loose tiles. The height and bond questions above still apply.
- On a wall, check the edges. Outlets, switch plates and window trim have to come forward with the new surface, which is the wall-thickness limit the TCNA mentions.
Do you have to remove the old grout first?
Not as a rule. The grout stays as part of the old layer. What matters is that it is sound and that the surface ends up flat enough, which can mean filling low joints before the new tile is set.
How long does tile over tile last?
There isn’t a separate lifespan for the second layer. It holds as long as the bond underneath and the stiffness of the floor hold, which is why the six checks matter more than the choice of new tile.
Covering it or tearing it out: what changes the price
Tiling over tile is not automatically the cheaper route. It skips demolition and haul-away, but it adds its own prep, and it can leave a problem in place that costs more later. What moves the price either way:
- Demolition and disposal of the old tile, if it comes out.
- What turns up underneath: subfloor repairs, a floor that needs stiffening, old adhesive.
- Prep on the old surface: abrading, filling joints, leveling, a primer if the mortar maker calls for one.
- The new tile’s size and pattern; a mosaic or herringbone takes far longer to set than large-format porcelain.
- Waterproofing, which our estimates list as its own line.
- Doors, thresholds, the toilet flange and appliances that have to be adjusted to the new height.
We don’t price tile work from a photo. For tile installation in Charleston, we come out, tap the floor, look at what is behind and beneath it, and tell you straight whether covering it is a good idea in your house. The visit and the written estimate are free.
Thinking about covering an old floor? Book a tile assessment and estimate, or tell us about the room first.
Keep reading